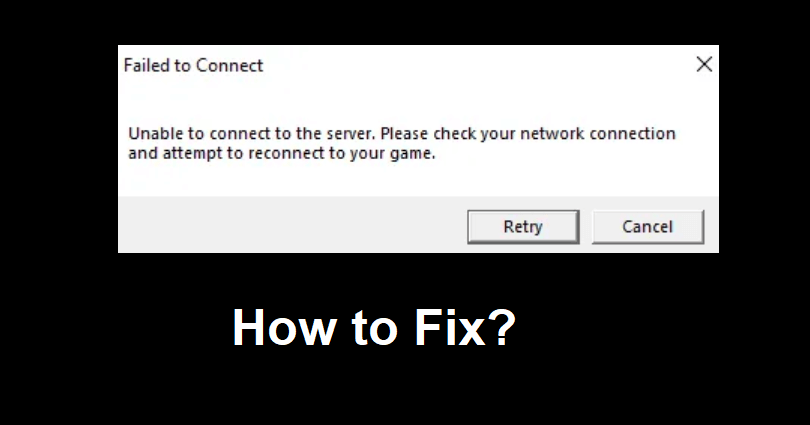
Are you facing a “Unable to connect to the server” error in League of Legends?
The next part of the error is, “Please check your network connection”.
Accompanied by, “And attempt to reconnect to your game”.
There are two options to select from, you can either select “Retry” to retry the connection or “Cancel” to cancel it.
In this article, I will tell you how to fix “Unable to connect to the server” in League of Legends.
Why can’t I connect to the server in LoL?
You can’t connect to the server in LoL due to the outage of the Riot servers.
Otherwise, there is a Firewall setting that is preventing LoL from connecting.
The LoL launcher uses server aliases that face problems while connecting to some ISPs’ default DNS resolver.
This problem is being faced by the players who are not from the USA and the launcher might not download a patch.
How to fix “Unable to connect to the server” in League of Legends
To fix “Unable to connect to the server” in League of Legends, the first step you should take is to check Riot Games’ status.
If the servers of Riot Games are facing an outage, you need to wait until they are back up.
Otherwise, you can change your DNS or disable the firewall.
Additionally, try running the game as an administrator.
Solution 1: Check Riot Games’ status
- Use this link to find out the Riot Games service: https://status.riotgames.com/.
- To determine the League of Legends outage reports, copy and paste this link into your browser: https://downdetector.com/status/league-of-legends/.
Solution 2: Allow LoL through Firewall
- Follow these steps: Go to Firewall & network protection > Allow an app through Firewall > Change settings > Allow another app.
- Allow “League of Legends”, “League of Legends (TM) Client”, and “Riot Client”.
Solution 3: Change your DNS
- Follow these steps: Control Panel > Network and Internet > Network and Sharing Center”.
- From the left bar, select “Change Adapter Settings”.
- Right-click on your network adapter to choose “Properties”.
- Select “Internet Protocol Version 4 (TCP/IPv4)” accompanied by “Properties”.
- From the menu’s bottom, change “Obtain DNS server address automatically” to “Use the following DNS server addresses:”.
- In each empty field, add the following public DNS servers: 8.8.8.8 and 8.8.4.4.
- Select “Ok”, shut down all open web browsers and applications, and hit the Windows key.
- After that, right-click anywhere, click on “All Apps”, right-click “Command Prompt” and run as administrator.
- Type “ipconfig /flushdns”, press Enter from your keyboard and reboot your computer.
Solution 4: Flush your DNS
- Go to the Windows Start menu, find command prompt by searching for “cmd”, right-click the Command prompt, and select “Run as Administrator” and type these commands there one by one.
- Type ipconfig /release and press enter.
- Type ipconfig /renew and press enter.
- Type ipconfig /flushdns and press enter.
- Close the CMD and try playing LoL.
Solution 5: Run LoL as an administrator
- Right-click on the League of Legends app.
- Now, choose the “Compatibility” tab.
- Tick “Run this program as an administrator”.
- Select “OK” followed by “Apply” to apply the changes.
What’s Next
Free League of Legends Accounts
How to Fix “VCRUNTIME140_1.dll was not found” in League of Legends
Arsalan Rauf is an entrepreneur, freelancer, creative writer, and also a fountainhead of Green Hat Expert. Additionally, he is also an eminent researcher of Blogging, SEO, Internet Marketing, Social Media, premium accounts, codes, links, tips and tricks, etc.